
One tradition that I began when my first Son was born, was to purchase an ornament that had something to do with his life that year. Of course I did the same for my second Son as well. Each year, each child was tasked with hanging their ornaments on the tree, and when they set up their own household all of their ornaments were gifted to them. This way they didn't have to worry about purchasing a ton of decorations that first year, and of course they had a pleasant reminder of their childhood too. Not to mention that they had hours of story telling material, explaining the reasoning behind each ornament. Their ornaments continue to bring joy to my Sons, and now I have begun the tradition with my first grandchild. Long after I am gone, these small memory markers will be a part of our family. I am so happy that I began this little tradition!
One year my money was pretty tight, yet I had a few co-workers that I really wanted to give a little something to. I was becoming very frustrated in the gift search, when I began unpacking the decorations box, and came across the kid's ornaments. Then it finally hit me. Ornaments are not that expensive, yet they are pretty, bring joy, and are an annual reminder of the giver. From that year on, money or none, to the delight of my friends, I have given the gift of ornaments. So, if you are looking for a memorable, yet inexpensive gift, try an ornament. Of course ornaments have gone up in pricing over the years, but if you want to make it really special, why not try making it yourself? Not only does this keep the cost down, but it really can be quite easy.
Aside from these clay ornaments, you can purchase plain glass ornaments at your local hobby store, or even the dollar store. You can paint those, mod podge a picture on it, glue beads or jewels on it, fill the inside with snow, glue leaves and berries on the outside, or even put decorations down inside the bulbs. You can paint scenes on the outside of the bulb or just write a name and the year on them in puff paint.
Not into the glass? Check your local hobby store for cardboard ornament forms. They have them in all shapes and sizes, ovals, square boxes, and different buildings. They come plain, and you just have to paint and decorate them. Or, in the same vain, you can find various ceramic shapes, from mini plates to snowmen. Again, you just need to decorate them however you want. The possibilities are endless, and only limited by your imagination!
These projects are very easy on your pocketbook, and at the same time, it will mean a lot that you took the time to create the perfect gift. Want to make it extra special? While you are at the hobby shop, pick out a cardboard gift box and decorate that box (try purchasing some holiday scrap book paper and use mod podge to decopodge the box. Then place your ornaments inside the box, tag it and wrap a bow on it, and whalla, the perfect gift, wrapped perfectly, and ready for after holiday storage!)
This was from a box of blue bulbs I purchased on sale after Christmas one year. I glued crystal gems on it and used the sparkling silver puff paints to paint decorations on it.

 This has "iced" branches stuck inside it. It is really beautiful in person, and this simple decoration has received many compliments!
 This one has the shiny package wrap stiffed in it, along with candy. Then the outside has "Tis the season for candy" written on the outside
 This was a wood cut out that I just painted and decorated.
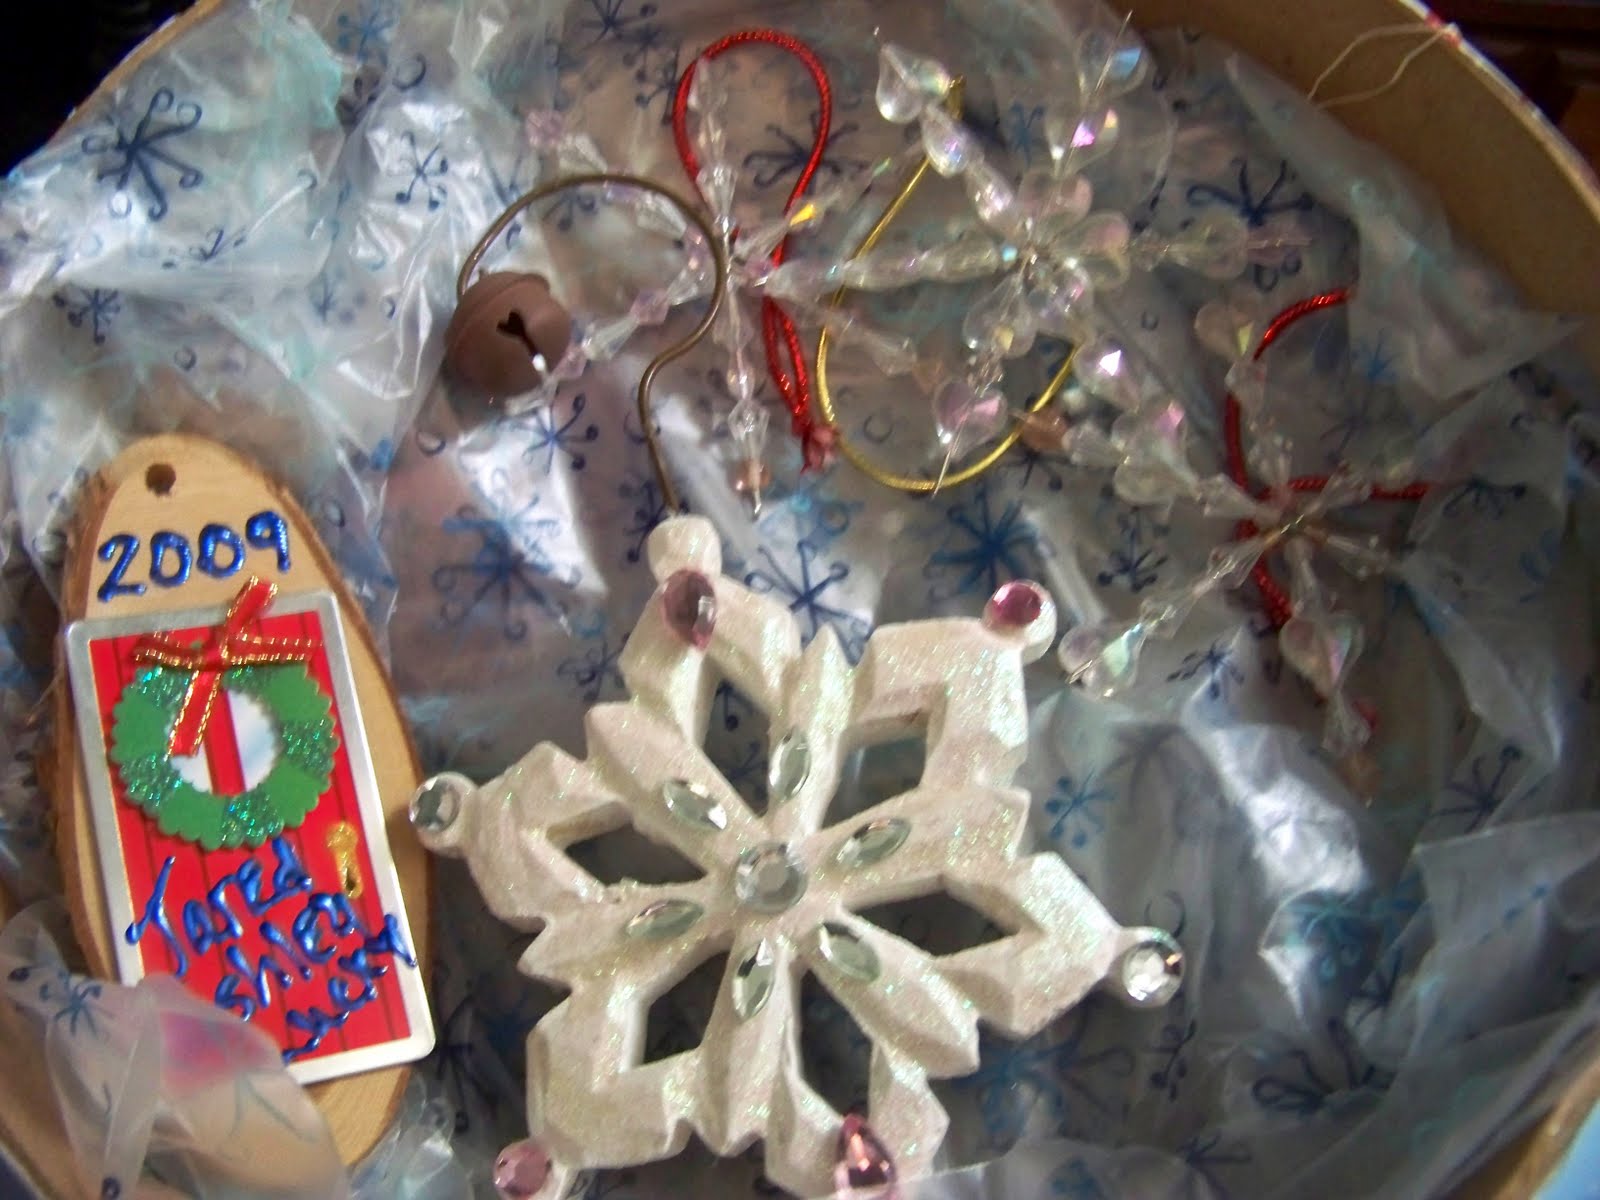 This is a decorated gift box, filled with ornaments. the piece of wood on the left with the door on it, signified that Son's first non-college home of his own. Then the rest were all some type of snow flake. there were beaded ones, wood ones, crystal ones, and glass. Oh, and yes, the box was decopodged!
  Fake snow, berries, and pine branches make this bulb unique
 bejeweled and glittered, make any ornament sparkle and shine!


